Ok, so last week I showed you how to make a polymer clay sand dollar. Would you like to learn something to go with it now? I had intended on showing you how I used the Sand Dollar but I have submitted that necklace to a magazine for inclusion and am unable to reveal it until I get a yes or no from them. Keep your fingers crossed for me. I will get something published before the year is over, that’s my New Year’s resolution. I’ve been very sick the last ten days so I haven’t felt up to creating or working on my website or Etsy shop. finally feeling better and ready to show you something else to try.
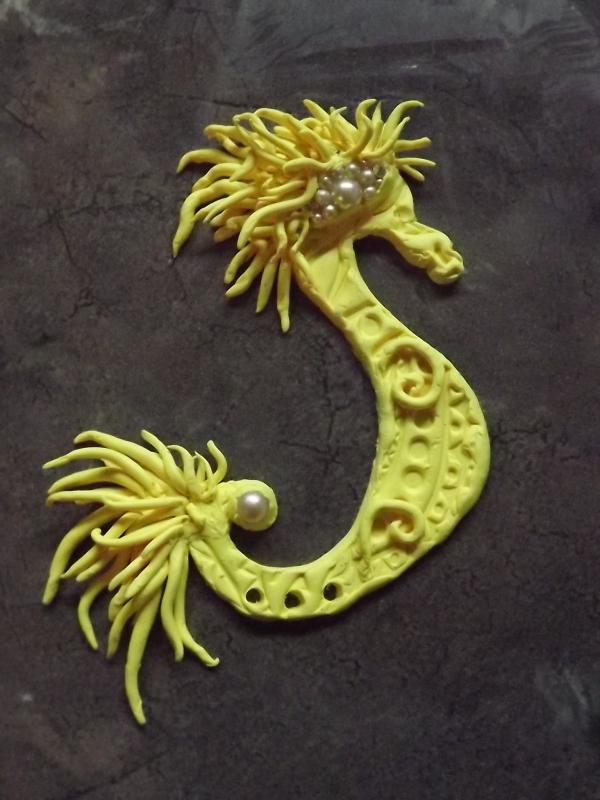
OK, back to the lesson now, I have designed a Sea Dragon for you today. I made a beautiful Seahorse to share but that one is on the necklace mentioned above. I promise I’ll share it when I can but until then we can make this little guy. There’s no right or wrong way to do this so put your fear aside and just have fun with it.
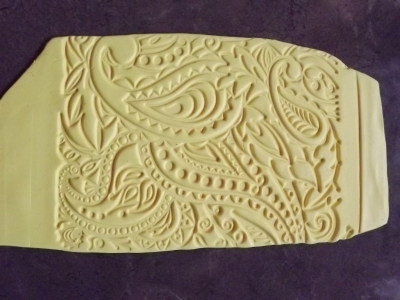
First you’ll need some conditioned clay. Here I am using a bright yellow (shows up well for the camera) but you can choose any color you’d like. I then flattened it with my pasta machine on the highest setting but a rolling-pin works too, just takes a bit longer. I bought this great texture mat from a wonderful little shop called BSueBoutiques and figured this was a great time to use it. Anything that will give you some texture will work though. Lace, brass stampings,just about anything will do. Look around your house and you’ll be surprised what you can find that will make a pattern in your clay.

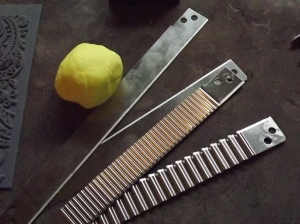
 There are a few handy tools I use, but mostly I use my hands. A razor blade is something you will need to cut out the shape or a very sharp knife. I started out with a toothpick and a pocket knife for tools so use whatever you can find and remember there are no right or wrongs here.
Now let’s cut out the basic shape of our little Sea Dragon. Yours does not have to be exactly like mine, in fact, it’s better if it isn’t since this is your Creation and it should reflect you. Just play around with the clay until you find a shape that works for you. That’s the best part of working with clay, you can just ball it up and start over if you don’t like it. Here’s the shape I ended up with. Feel free to print this out and use it as a template if you’d like.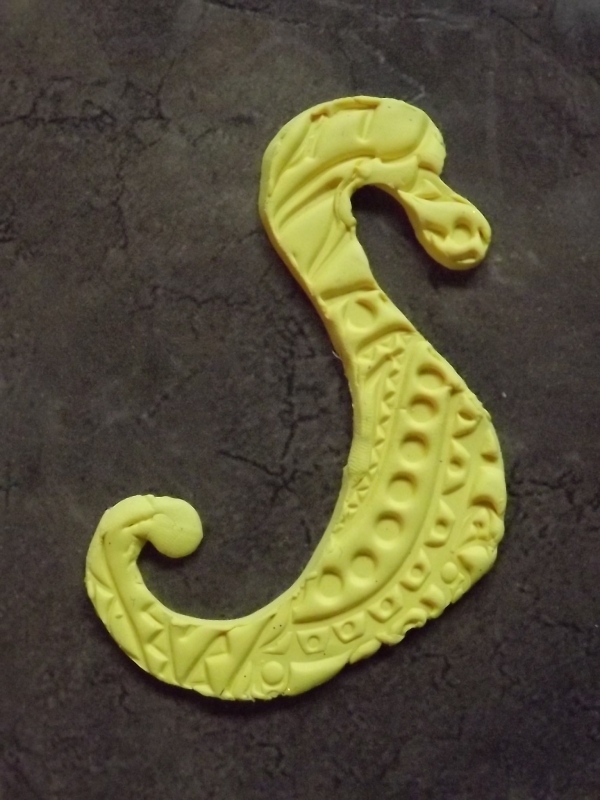 Lightly roll the edges with your fingertip to smooth out the blunt cut a bit. Now comes the fun part, Let’s decorate this little beast. I formed a mane using small balls of clay rolled into a cylinder shape and pressed onto the head. Make your Sea Dragon with as big or small a mane as you please, or maybe not at all if that’s what you like.
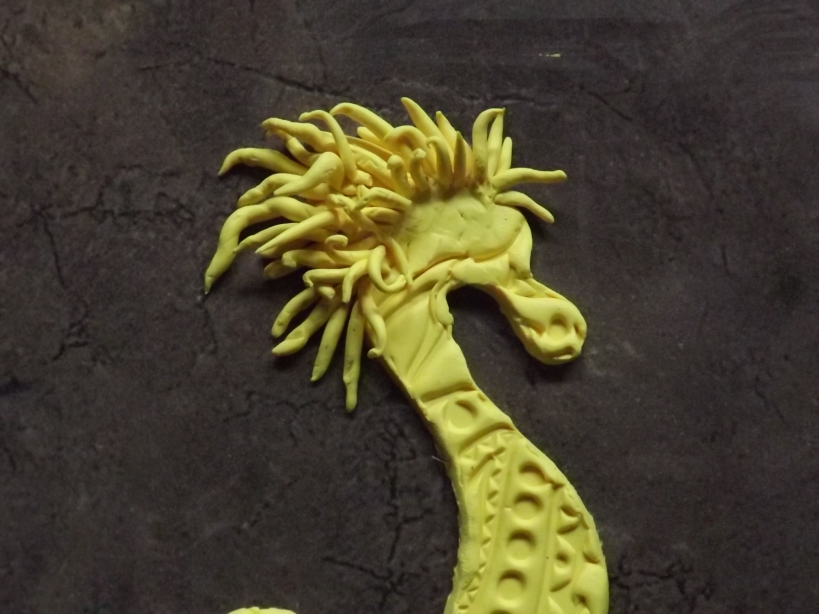
Try not to make these too thin at the tips or they will not be strong enough after baking. I start out with a long pretty thick layer of tendrils on the bottom and keep adding tendrils varying in size from large, medium and finally small in the direction of the face. This adds lots of dimension and a little drama to the creature. When you are satisfied with the way the mane looks why not go for a little on its tail as well like I did here. 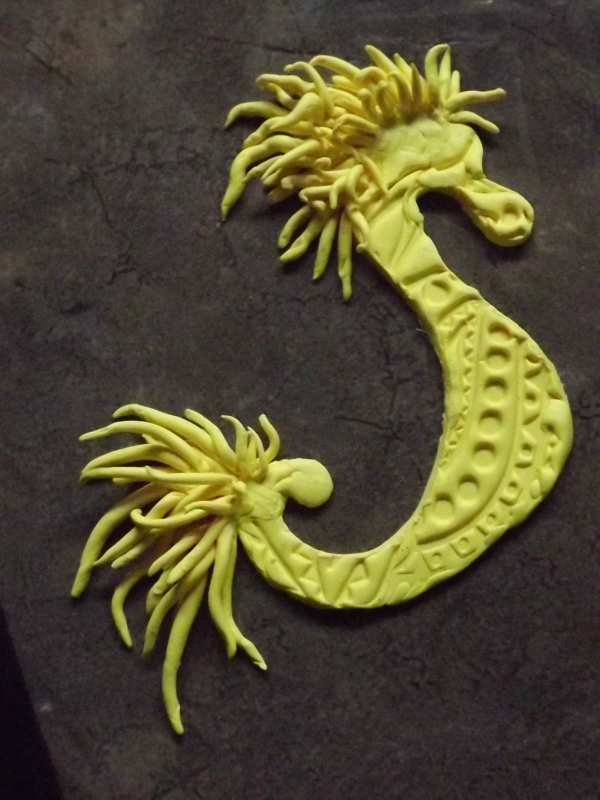
I like the way he’s taking shape now. Now comes the really fun part. Let’s embellish him with pearls, crystals, beads or whatever you’d like (but remember he needs to be baked so keep that in mind when you add things). Here I’ve added some pearls and a few small crystals. When adding beads and such that will be baked into your creation you’ll need to adhere them with a little extra clay. I simply wound a couple of pieces of clay like the tendrils we made around the bead and then smoothed it down with my fingertip a little. You could also just make an impression with the stone or bead and glue it in after it’s baked if you so choose.
I plan on adding some chain or beads when I’m finished so I created three holes for that in the tail. Better to add your holes before baking I think. You can see I used some tendrils on the body in a curly fashion but I didn’t like the look and have removed them from mine. Needs a little more bling don’t ya think? 
Now that’s better! I also did a little fixing on the face too. I used a red crystal for the eye and built the area up with a small amount of clay. Just make some very small tendrils and adhere them above the crystal or bead and smooth it down a little. I did the same for the nostril too only a smaller crystal was inserted. I hand formed a small fin and attached that into the middle of the back toward the edge. I think mine is done. How bout you?
I always paint mine before putting it in the oven but you can certainly wait and paint it after baking if you’d prefer.
I think I’d like my Sea Dragon to have some splashes of orange and red on him. Choose whatever colors you think would enhance your Sea Dragon and give him a little sparkle. I love adding fine glitter to my creations too! This yellow was just a little too bright for my liking so I went over the body and face with a touch of Viva pearl precious metal colour. I then added some orange and a little red acrylic paint to the mane before putting him in the oven on 275 degrees for about 35 minutes. Here’s my finished Sea dragon.
Would you like to see more lessons? Leave me a comment and an idea about what you’d like to create and I’ll do my best. We can learn together. Sounds like fun to me. Can’t wait to see what ideas you suggest. 🙂

