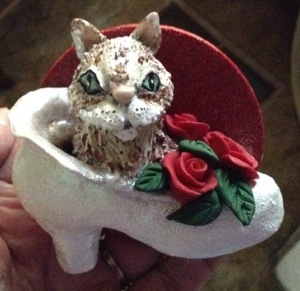
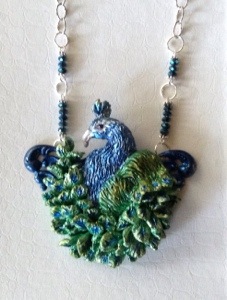
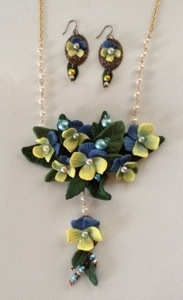
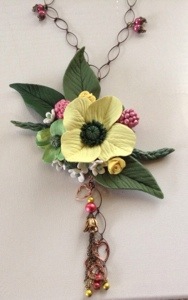
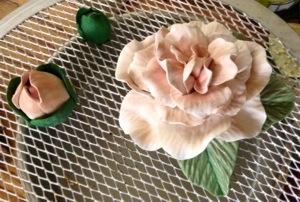
I know it’s been a long time since I posted anything here but life got in the way. I am back now feeling very inspired and creative, ready to get my hands in some clay. In fact, I have created a couple things to show you. I’ve got so many ideas in my head I can’t wait to get started on them. Hopefully you’ll come along as I re-explore polymer clay. Here’s a sampling of my new works…
All posts tagged polymerclayartist
Finally back to creating again!
Posted by irrysistablejewels on January 13, 2014
https://irrysistablejewels.wordpress.com/2014/01/13/finally-back-to-creating-again/
Finished the Polymer clay Martial Arts Sculpture now on to the next
With much trial and error I have finally finished this sculpture. I learned so much in doing this one and made a ton of mistakes. I’m hoping that I remember those goof ups next time. 
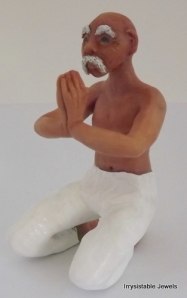
I plan on trying to recreate my Grand-Daughter next and I’m sure that will be full of special challenges too but I’ll give it a go and see what happens. I hope you’ll follow me along the way and maybe learn something too. I’m going to post step by step pics of the process so you can see how I do it from the very beginning. I have ordered some supplies and as soon as they arrive I’ll be starting the new sculpture. Should be around Wednesday or Thursday I think.
A good friend on mine (Harry Wood of Oscar crow) has offered to send me an anatomy book which will help a great deal in getting things right and in proportion. He’s so helpful and knowledgeable. Check out his blog for tons of tutorials. http://www.oscarcrow.blogspot.com/ I highly recommend it!
This is the photo I plan on basing the next creation from but as you all know that can change when flubs appear..LOL  Isn’t she adorable! This is actually an old photo of her but it’s one of my favorites.
Posted by irrysistablejewels on July 8, 2012
https://irrysistablejewels.wordpress.com/2012/07/08/finished-the-polymer-clay-martial-arts-sculpture-now-on-to-the-next/
Trial and Error in Sculpting
Well crap! What a frustrating day it’s been. I’ve had to redesign this sculpture a bit and adapt to some mistakes I’ve made. I had intended to have this guy balancing on one leg but I forgot to reinforce the spine to hold the weight. So, I’ll have him kneeling instead. Note to self, always reinforce the spine down the entire leg for this application.
I did make some pretty good progress on the upper body though and can still salvage this sculpture. Sorry for the bad photos but like I said, it’s been one of those days for me today. Hopefully tomorrow will be a better day. 
Posted by irrysistablejewels on July 2, 2012
https://irrysistablejewels.wordpress.com/2012/07/02/trial-and-error-in-sculpting/
Polymer clay Martial Arts sculpture
Here I go again, challenging myself to do something new and difficult. I’ve decided to try to sculpt a Martial Arts sculpture. It actually didn’t start out that way but since the head was determined to become a male I had to change my plan. I’m so glad I did now but at the time it was really frustrating. So far, I’ve gotten the head sculpted and cured on the armature and the hands are sculpted.
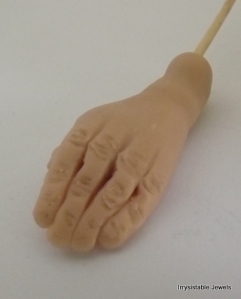
I had a lot of trouble getting the hands correct but all in all I’m pretty happy with them. I might try to do a little more detail work on them tomorrow though. Here’s a photo of the pose I plan to use but keep in mind it will be a bit different, hopefully in a good way. 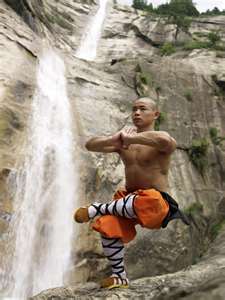
 Here’s the head I came up with after much pushing and pulling, adding clay and taking it away.
 I’ve only taken a picture of the left hand but I did get the right one completed today too. I’ve also finished the armature and added a bit of the skeleton to it. I’ll get some shots of that in the morning, time for me to get a good nights sleep so I can work on this again tomorrow without yawning the whole time.
Posted by irrysistablejewels on July 2, 2012
https://irrysistablejewels.wordpress.com/2012/07/02/polymer-clay-martial-arts-sculpture/
Polymer Clay Swan floral Arrangement
Have you ever had a dream that you just had to create when you woke up? That’s what happened to me with this swan. I woke up knowing exactly what it was going to look like but no idea how I was going to get it there. This has been a mammoth task but I’m so glad I was able to do it. I still have some last minute finishing touches to do on it but for the most part it’s complete. 
I handcrafted each petal and leaf from polymer clay and then hand painted some details on each one. Would I do it again, I’ve asked myself that question and the answer is a resounding YES I would! In fact, I will be starting another arrangement soon but it won’t be nearly as complicated as this one was. I have no idea where this new-found art form will take me but I’m enjoying the ride and hope you enjoy it with me. 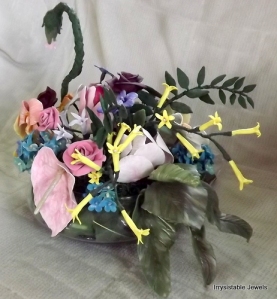


Posted by irrysistablejewels on June 16, 2012
https://irrysistablejewels.wordpress.com/2012/06/16/polymer-clay-swan-floral-arrangement/
Life Size Polymer Clay Flowers
Over the past week I’ve been challenging myself to handcraft a life-like floral arrangement out of polymer clay. It’s had its ups and downs so far but I’m making progress. This will be the most difficult piece I’ve attempted so far.
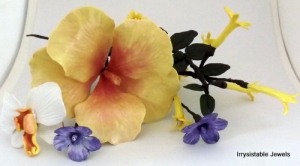 I have always had a love of flowers so I figured why not see if I can do this. I must say the greenery is a hard thing to recreate too but the Tulip is by far the hardest yet. You can follow my progress on facebook too as I post there as soon as I complete a flower. Here are a few I’ve finished so far.
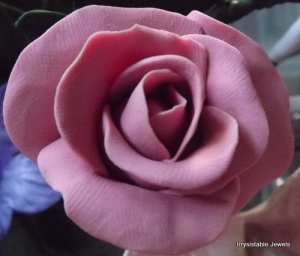

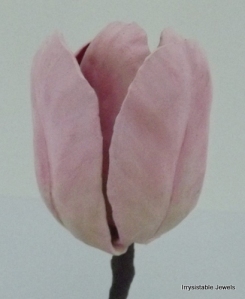 Leave me a comment and let me know what you think. I’d love to get your opinion and suggestions.
Posted by irrysistablejewels on June 13, 2012
https://irrysistablejewels.wordpress.com/2012/06/13/life-size-polymer-clay-flowers/
Polymer clay Polar Bear
I’ve been working on this Polar Bear the last couple of days since the weather is so wet and cold outside here in Oregon. It seemed like the perfect subject to go along with the wintery mix. Although it’s not completed, I wanted to share my progress with you.

Posted by irrysistablejewels on June 6, 2012
https://irrysistablejewels.wordpress.com/2012/06/06/polymer-clay-polar-bear-2/
Polymer Clay Salmon Sculpture
Well here it is, the finished sculpture. The only thing left to do is seal it and send it off to my Dad for father’s Day. I had fun with this one.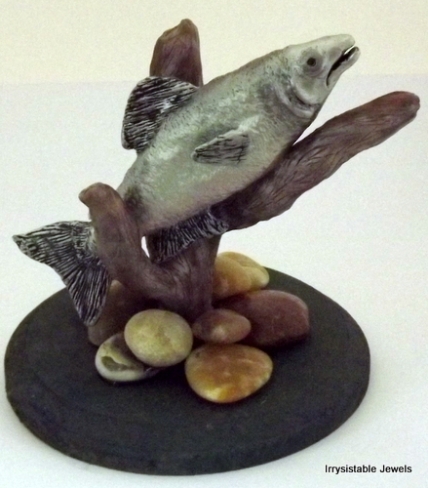 Now to figure out what to create next, hmmm. I do have a necklace to work on for the AMY Roloff Charity Foundation but it’s still in the design stage at the moment. A trip to the Zoo would be fun and inspiring but we don’t have one close enough for me to go. Sure wish we did though. There’s nothing more fun than spending the day at the zoo checking out the wildlife.
Posted by irrysistablejewels on June 4, 2012
https://irrysistablejewels.wordpress.com/2012/06/04/polymer-clay-salmon-sculpture/
Father’s Day Sculpture
I’m working on a Father’s Day sculpture right now and wanted to share it with you. I’ve completed the Salmon and now will be working on the stand to hold it. I’m pretty happy with how the fish came out and have my fingers crossed that the rest of it will be what I have planned. 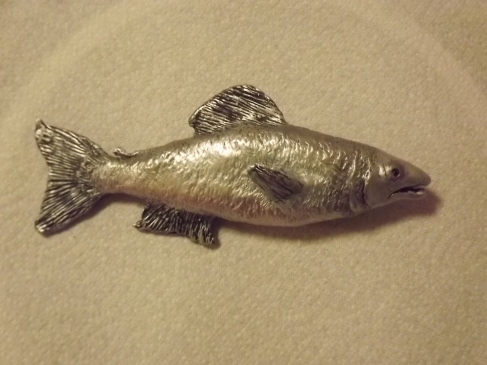 You never know when you’ll have a happy accident though and everything changes. I suppose that’s what I love about working with clay. You just never know how your creation will turn out until it’s finished. I’ll post the completed sculpture soon as I plan on working on it again today.
Posted by irrysistablejewels on June 3, 2012
https://irrysistablejewels.wordpress.com/2012/06/03/fathers-day-sculpture/
Polymer Clay Flowers/Star Gazer Lily
I’ve been very busy creating some polymer clay flowers the last few days. Taking my cake decorating skills and transposing them into clay has been an experiment to say the least but it does work with a little tweaking. I made this Star Gazer lily a couple days ago and applied some watercolor paint to it. I love the soft effect I achieved. Today I made a smaller version and painted it with powders so I could compare the two and decide which one worked best for florals. I must say I think I like the watercolor effect best but they both look good. Currently I am working on another necklace for a magazine submission using the Star Gazer as the focal.
I’m thinking about posting a tutorial on this Lily in the near future so if you’re interested in that please leave me a comment at the end of this blog.
My Granddaughter’s birthday is approaching soon, so rather than buying her something, I created a special little sculpture for her. Sure had fun with this one and I’m sure she’ll love it.  I can see some Christmas Ornaments coming at some point. Those should be really fun to create. Little kids love to see their names on things and my Grandkids are no different. I love making things for them!
Here’s another floral necklace I created a few days ago. I would do this one a little different next time though. I should’ve surrounded the petals with some baking soda to keep them from drooping. Live and learn I suppose. 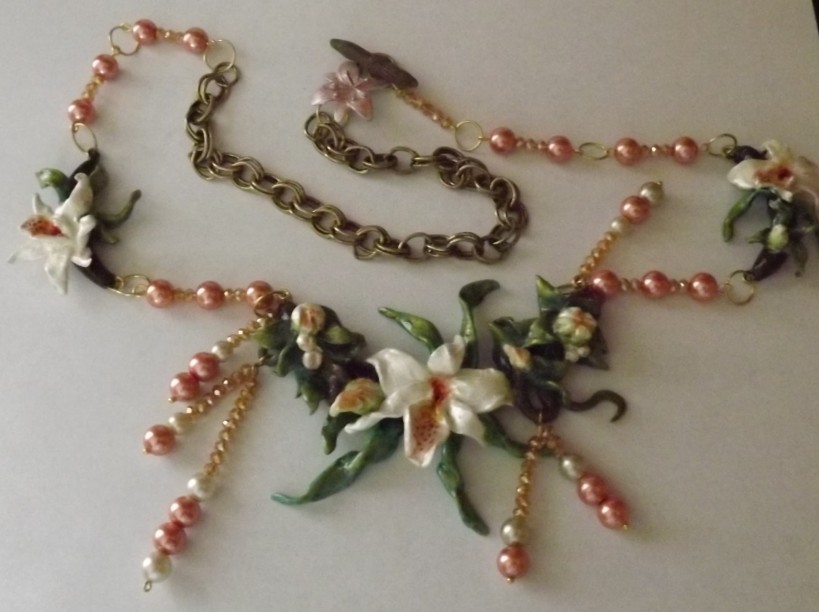 I’ll be listing this one in my Etsy shop in a day or so. Still have a few things to finish on it first.
I love working with polymer clay! It’s the best stress reliever around if you ask me.
Posted by irrysistablejewels on January 24, 2012
https://irrysistablejewels.wordpress.com/2012/01/24/291/
How to Create a Polymer Clay Sea Dragon
Ok, so last week I showed you how to make a polymer clay sand dollar. Would you like to learn something to go with it now? I had intended on showing you how I used the Sand Dollar but I have submitted that necklace to a magazine for inclusion and am unable to reveal it until I get a yes or no from them. Keep your fingers crossed for me. I will get something published before the year is over, that’s my New Year’s resolution. I’ve been very sick the last ten days so I haven’t felt up to creating or working on my website or Etsy shop. finally feeling better and ready to show you something else to try.
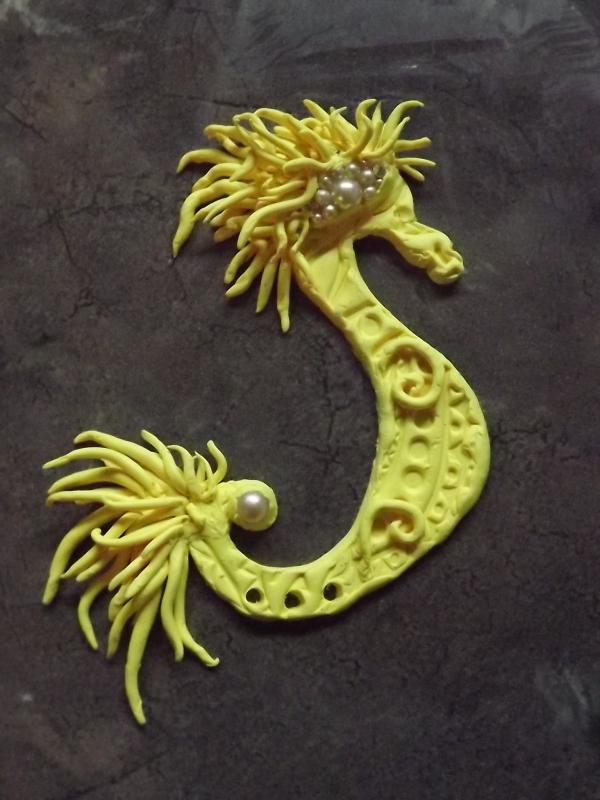
OK, back to the lesson now, I have designed a Sea Dragon for you today. I made a beautiful Seahorse to share but that one is on the necklace mentioned above. I promise I’ll share it when I can but until then we can make this little guy. There’s no right or wrong way to do this so put your fear aside and just have fun with it.
First you’ll need some conditioned clay. Here I am using a bright yellow (shows up well for the camera) but you can choose any color you’d like. I then flattened it with my pasta machine on the highest setting but a rolling-pin works too, just takes a bit longer. I bought this great texture mat from a wonderful little shop called BSueBoutiques and figured this was a great time to use it. Anything that will give you some texture will work though. Lace, brass stampings,just about anything will do. Look around your house and you’ll be surprised what you can find that will make a pattern in your clay.

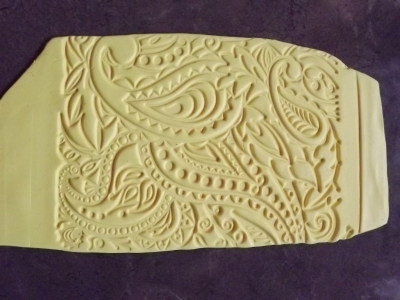 There are a few handy tools I use, but mostly I use my hands. A razor blade is something you will need to cut out the shape or a very sharp knife. I started out with a toothpick and a pocket knife for tools so use whatever you can find and remember there are no right or wrongs here.
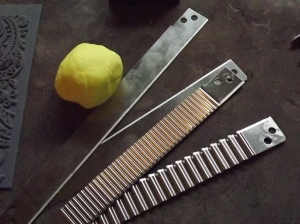
Now let’s cut out the basic shape of our little Sea Dragon. Yours does not have to be exactly like mine, in fact, it’s better if it isn’t since this is your Creation and it should reflect you. Just play around with the clay until you find a shape that works for you. That’s the best part of working with clay, you can just ball it up and start over if you don’t like it. Here’s the shape I ended up with. Feel free to print this out and use it as a template if you’d like.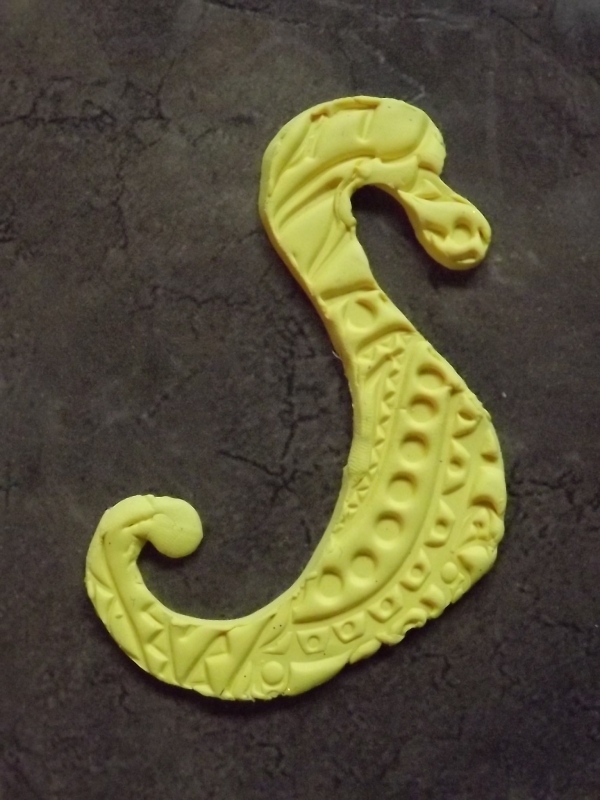 Lightly roll the edges with your fingertip to smooth out the blunt cut a bit. Now comes the fun part, Let’s decorate this little beast. I formed a mane using small balls of clay rolled into a cylinder shape and pressed onto the head. Make your Sea Dragon with as big or small a mane as you please, or maybe not at all if that’s what you like.
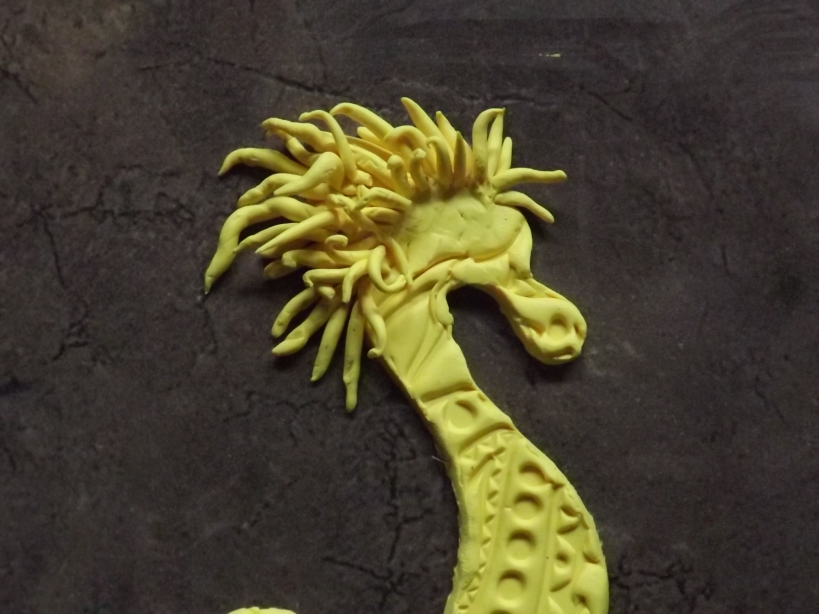
Try not to make these too thin at the tips or they will not be strong enough after baking. I start out with a long pretty thick layer of tendrils on the bottom and keep adding tendrils varying in size from large, medium and finally small in the direction of the face. This adds lots of dimension and a little drama to the creature. When you are satisfied with the way the mane looks why not go for a little on its tail as well like I did here. 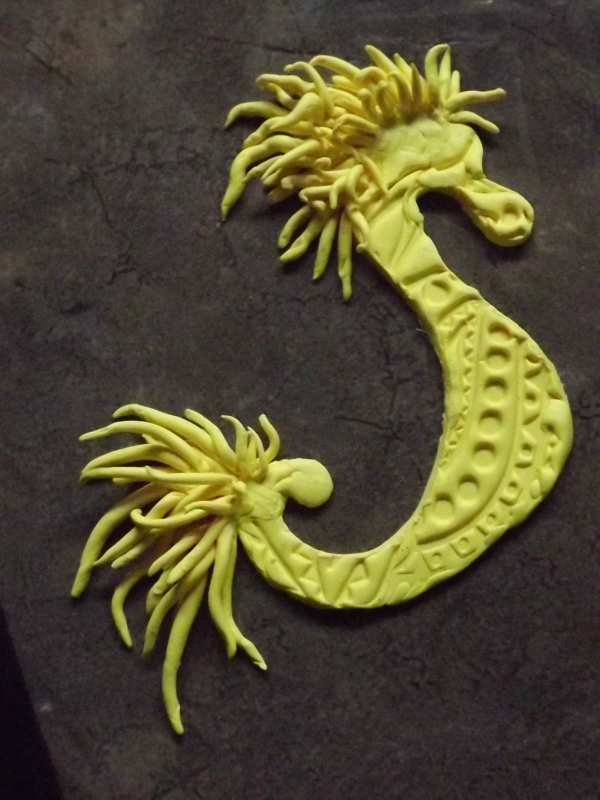
I like the way he’s taking shape now. Now comes the really fun part. Let’s embellish him with pearls, crystals, beads or whatever you’d like (but remember he needs to be baked so keep that in mind when you add things). Here I’ve added some pearls and a few small crystals. When adding beads and such that will be baked into your creation you’ll need to adhere them with a little extra clay. I simply wound a couple of pieces of clay like the tendrils we made around the bead and then smoothed it down with my fingertip a little. You could also just make an impression with the stone or bead and glue it in after it’s baked if you so choose.
I plan on adding some chain or beads when I’m finished so I created three holes for that in the tail. Better to add your holes before baking I think. You can see I used some tendrils on the body in a curly fashion but I didn’t like the look and have removed them from mine. Needs a little more bling don’t ya think? 
Now that’s better! I also did a little fixing on the face too. I used a red crystal for the eye and built the area up with a small amount of clay. Just make some very small tendrils and adhere them above the crystal or bead and smooth it down a little. I did the same for the nostril too only a smaller crystal was inserted. I hand formed a small fin and attached that into the middle of the back toward the edge. I think mine is done. How bout you?
I always paint mine before putting it in the oven but you can certainly wait and paint it after baking if you’d prefer.
I think I’d like my Sea Dragon to have some splashes of orange and red on him. Choose whatever colors you think would enhance your Sea Dragon and give him a little sparkle. I love adding fine glitter to my creations too! This yellow was just a little too bright for my liking so I went over the body and face with a touch of Viva pearl precious metal colour. I then added some orange and a little red acrylic paint to the mane before putting him in the oven on 275 degrees for about 35 minutes. Here’s my finished Sea dragon.
Would you like to see more lessons? Leave me a comment and an idea about what you’d like to create and I’ll do my best. We can learn together. Sounds like fun to me. Can’t wait to see what ideas you suggest. 🙂
Posted by irrysistablejewels on January 8, 2012
https://irrysistablejewels.wordpress.com/2012/01/08/265/
Polymer clay Lion Necklace finished
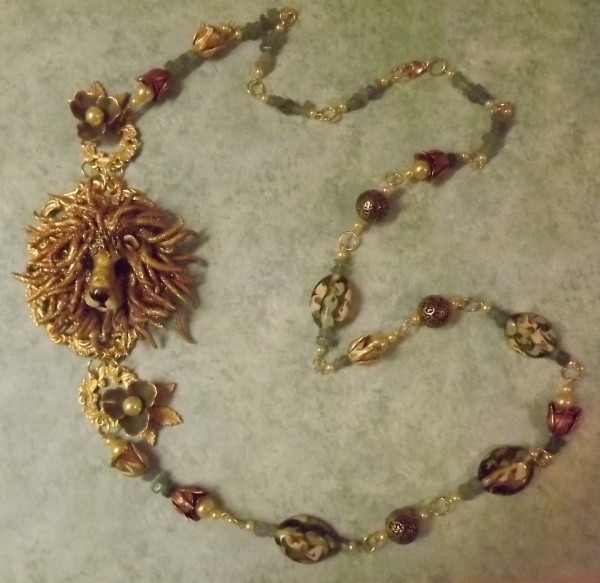
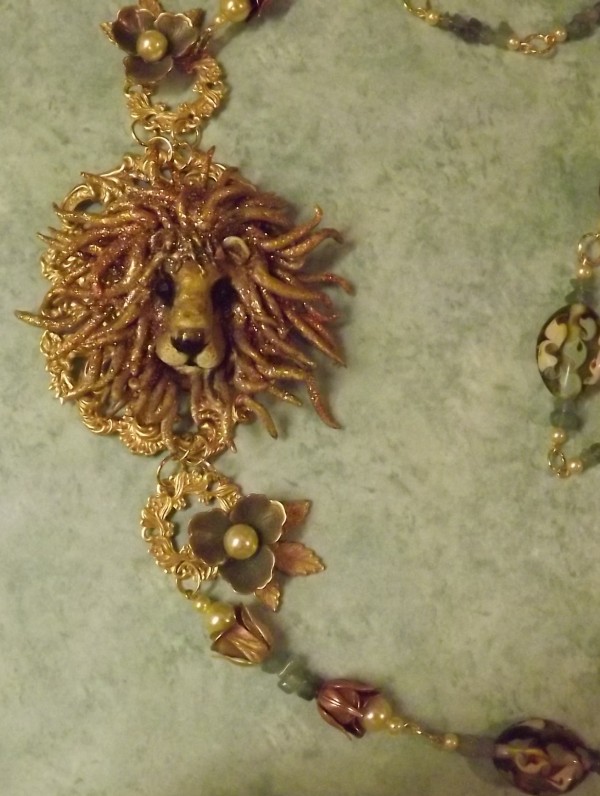
Here is the Lion attached to a Russian Goldplate plaque and set into a necklace. The soft green jade beads and added touch of the flowers added a more feminie touch to this piece. I get most of my supplies from BSueBoutiques and she has some really awesome findings there and her Etsy store too. Great prices and truly good quality stuff.
I will be adding a new section to my Etsy shop soon to include my polymer clay works. Trying to get an inventory of great pieces to include in that section will take some time so keep checking for updates on that venture.
Posted by irrysistablejewels on January 2, 2012
https://irrysistablejewels.wordpress.com/2012/01/02/polymer-clay-lion-necklace-finished/
